Saturday, August 30, 2014

Homemade Bacon & Liver Dog Treats


I like to bake treats for my dogs. Sometimes I'll cook for them using the guidelines found in Dr. Pitcairn's Complete Guide to Natural Health for Dogs & Cats. Usually when I do bake treats for Muffin and Panda, I just throw a whole bunch of ingredients together until the dough is the texture I need it to be to roll it out for cookie cutting. Up until now, they've pretty much had vegetarian dog treats with the occasional chicken or beef broth for the liquid portion of the dough. Panda's birthday is coming up, so I thought this would be a nice treat for the two monsters.
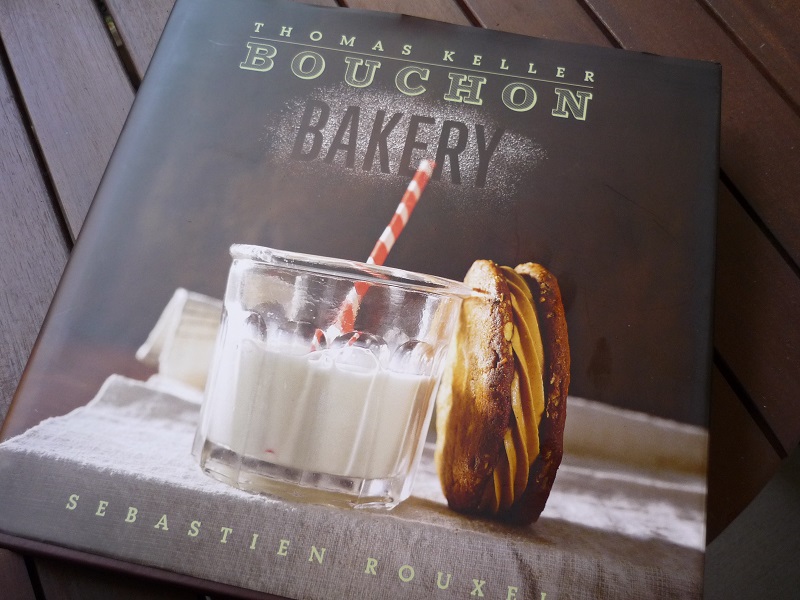
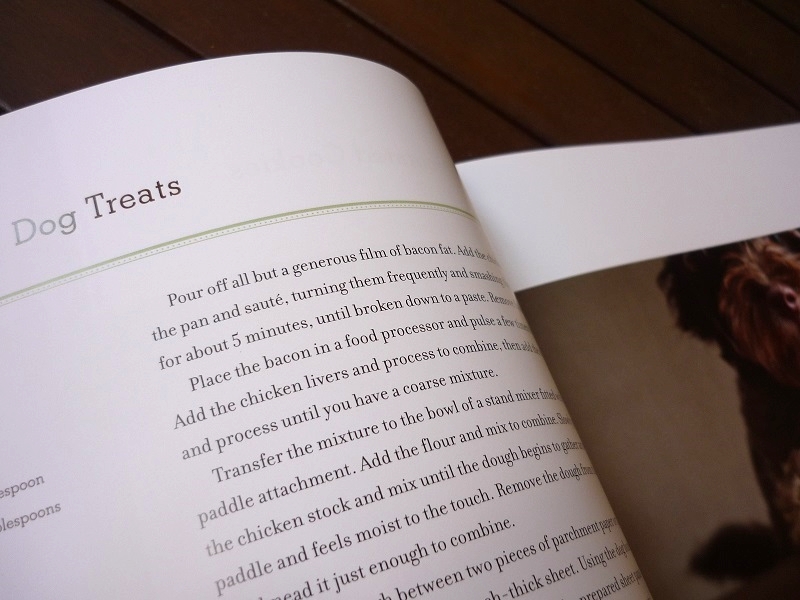

I was browsing through my Bouchon Bakery cookbook that my mom got me for my birthday one year and stumbled upon a recipe for dog treats! It's definitely different from any other recipe I've used or even thought of. I've been a fan of Thomas Keller ever since discovering Bouchon Bakery (and the restaurant) in Las Vegas. It's a stop I always HAVE to make when I'm there. Not to mention that their prices are not outrageous like some others on the strip.

So on to the recipe. I made some changes because I do think it might be a little bit rich for Muffin and Panda and I don't like cleaning up messes when they overindulge. I also prefer not to feed them wheat and corn and used oats and flax for the flour mixture. I also changed up some other minor details.

Begin by sauteeing the cut 12 oz bacon over medium high heat. Watch out for splattering! I don't really buy bacon to cook at home, at least not pork bacon and it was not fun.
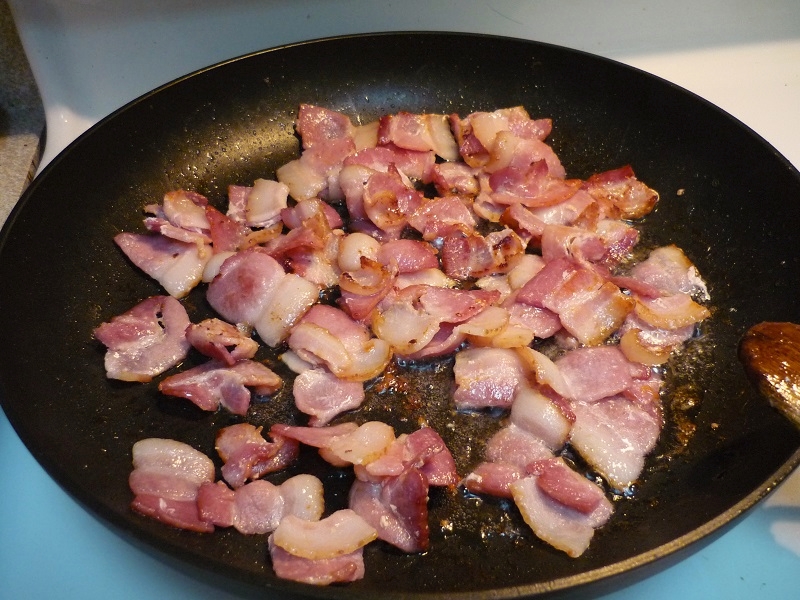

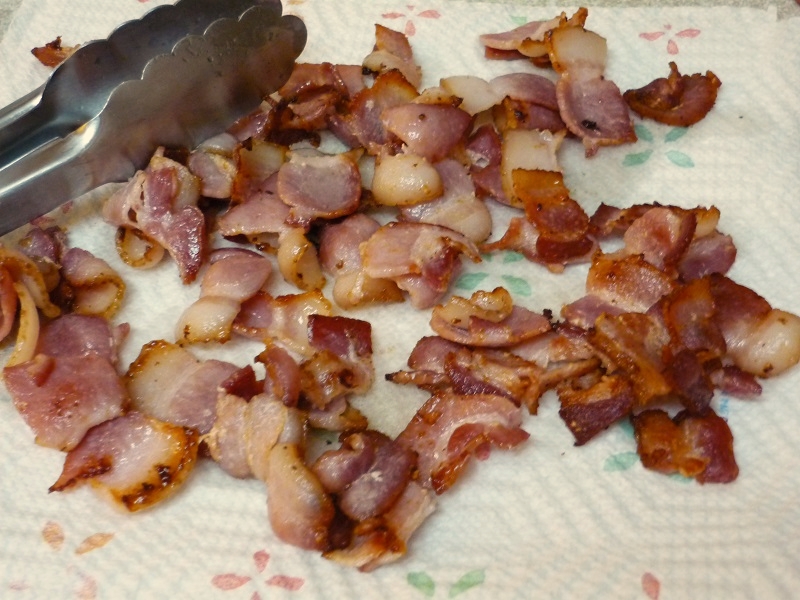
Once browned, remove the bacon from the pan and drain on paper towels. This was like a battlefield getting the bacon out of the pan and trying to avoid the oil from jumping up at my hand. Muffin and Panda better appreciate this.

So... it was my first time ever buying or dealing with chicken liver and I knew I was in for a not so nice surprise when I opened the container. Here's what it looked like:
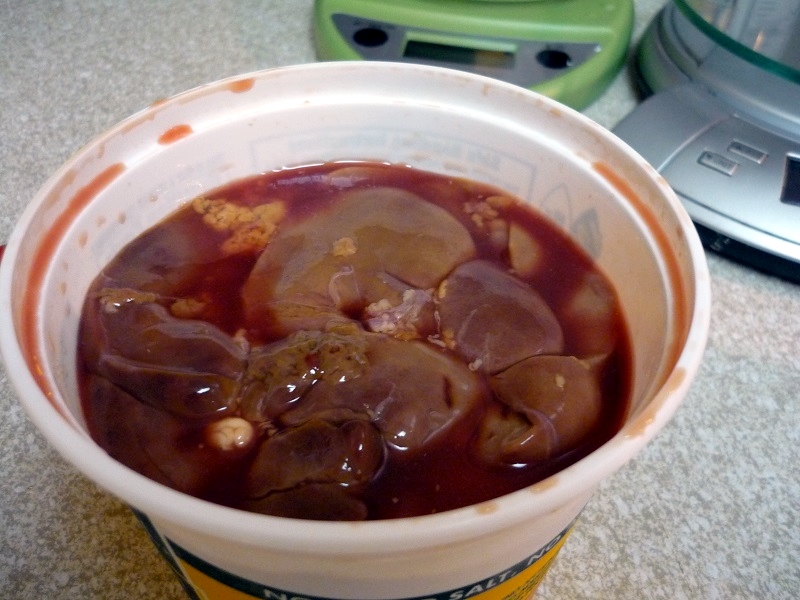

I was a little grossed out and being dramatic so I quickly rinsed it and not really wanting to touch it anymore, forgot to cut it and instead plopped it onto the pan in whole pieces:
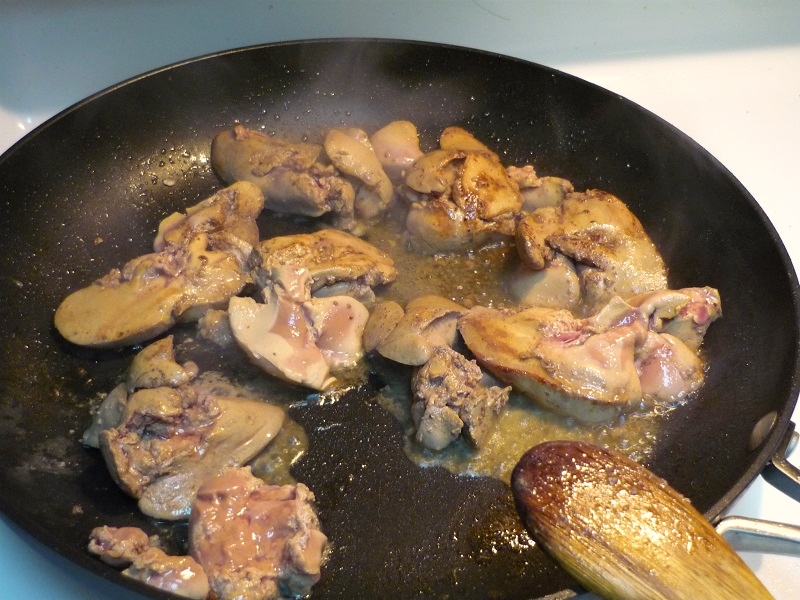

I ended up cutting it into smaller pieces with some kitchen shears and mashed it to a paste using my handy dandy potato masher. Muffin and Panda knew something was up at this point... first the aroma of bacon and now... liver. They were hanging around the kitchen and Muffin, the dog who never ever loves me, decided that he loved me a lot and was standing with his front paws on my leg, staring so pitifully at me. I gave the two suckers a little bacon, they're so cute, my two little angels.
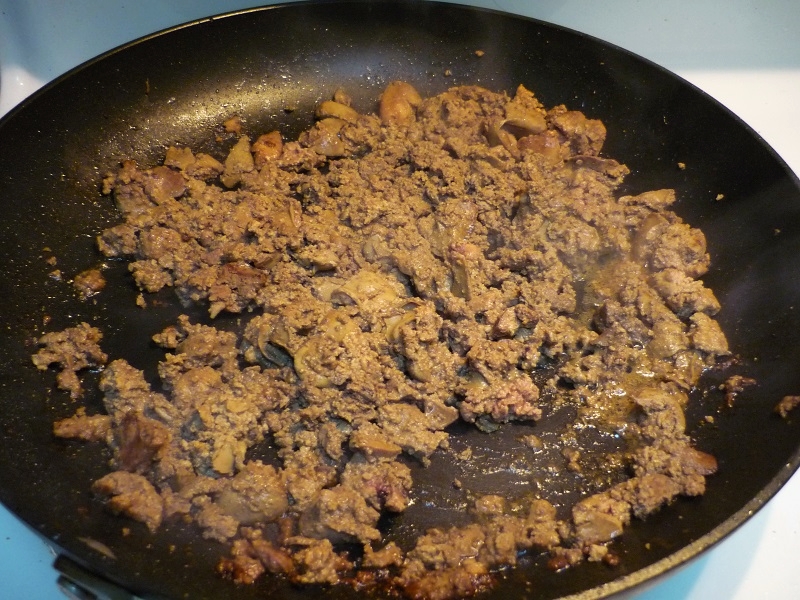

After dumping the bacon and liver into my Vitamix and pureeing it to a paste (you can leave it a coarse crumbly texture as well), I scraped it all out into my electric mixer bowl. Yeah, maybe breaking it down to a paste wasn't the brightest idea because it wasn't fun getting it out of the Vitamix.
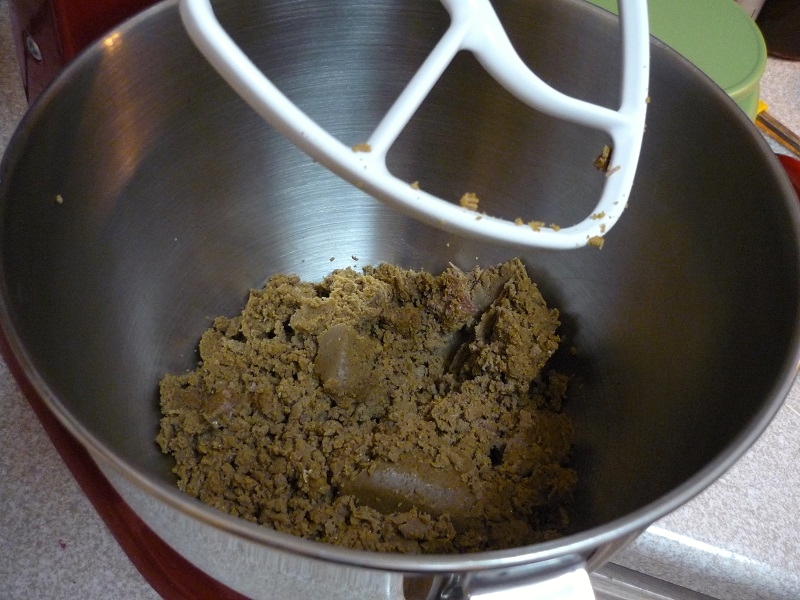

Mix the flour in until crumbly and then add the applesauce. You can use water too or broth if you'd like, but I had some applesauce leftover and I think Muffin and Panda like it; I always use it for their other treats.
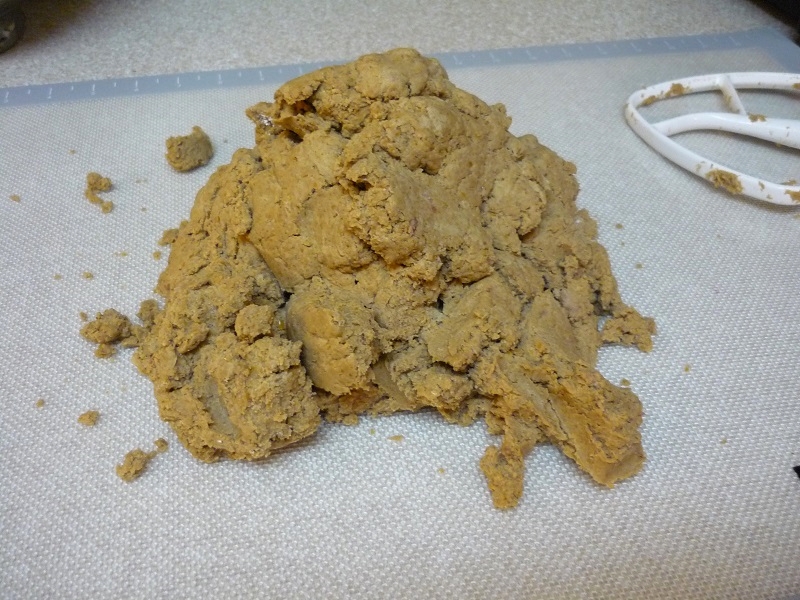

When it starts coming together, dump it out onto the counter and knead until it becomes a smooth dough. Did I mention I hate kneading dough? I suppose you can try kneading it in your mixer, but I used oat flour which creates a crumbly dough.
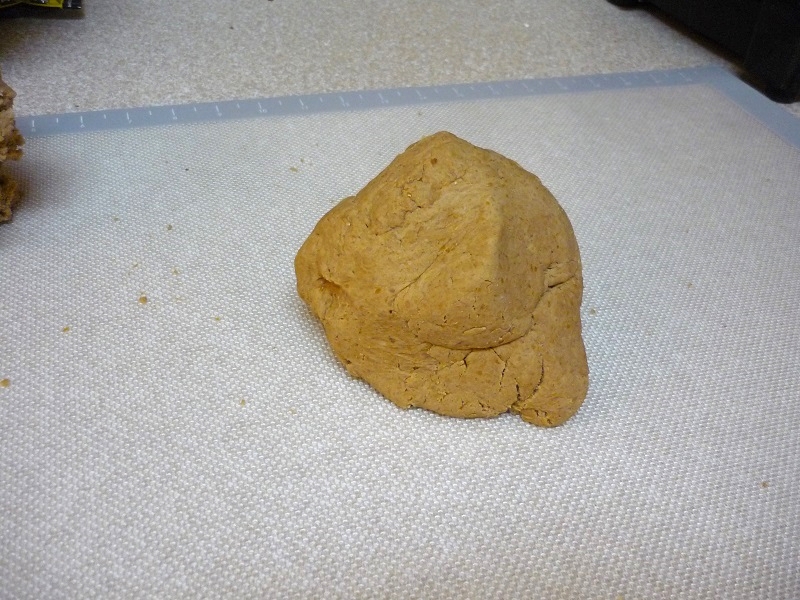

Flatten it to a disk and cover with plastic wrap, then roll it out to desired thickness or about 1/4 inch. So much work! I was just ready to get it in the oven at this point and be done with it. But alas, I wanted cute dog bone shapes.
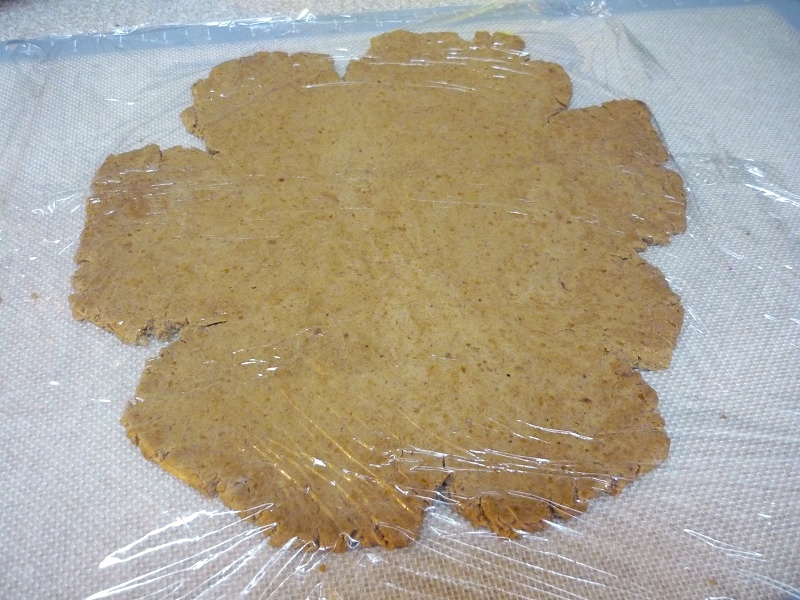

So I went ahead and made them. If your dough is to dry, you can add some more applesauce or water. I try to be efficient to get as many shapes as possible because rolling the dough out, cutting it, and then repeating gets so monotonous and boring. And Panda and Muffin looked so sad lying in the kitchen with their heads down wondering why I wasn't sharing. =(
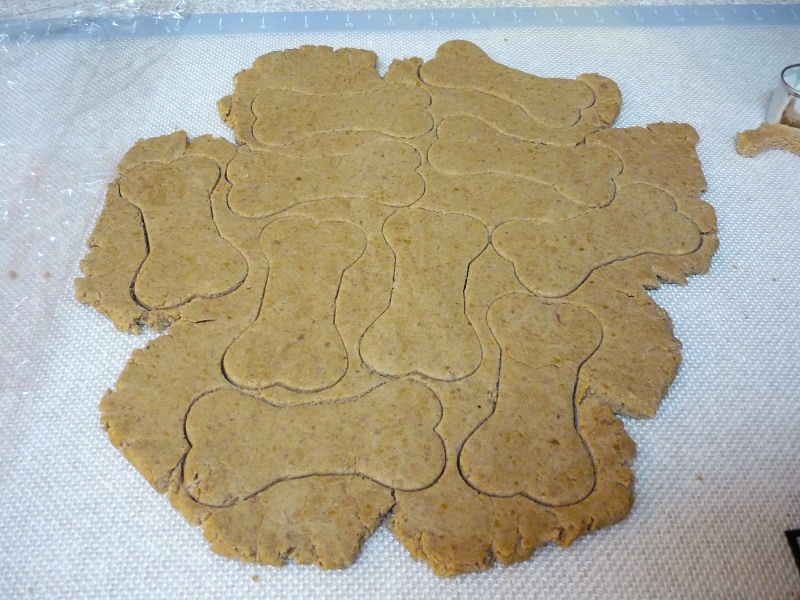

The dough is pretty dry and I think you can just stick it straight on the nonstick sheet, but I always use a silpat. Silpat is the best invention ever. EVER. I've tested backing macarons on silpat vs parchment paper and the silpat creates the perfect feet. It's also so versatile for rolling out dough on the counter top.
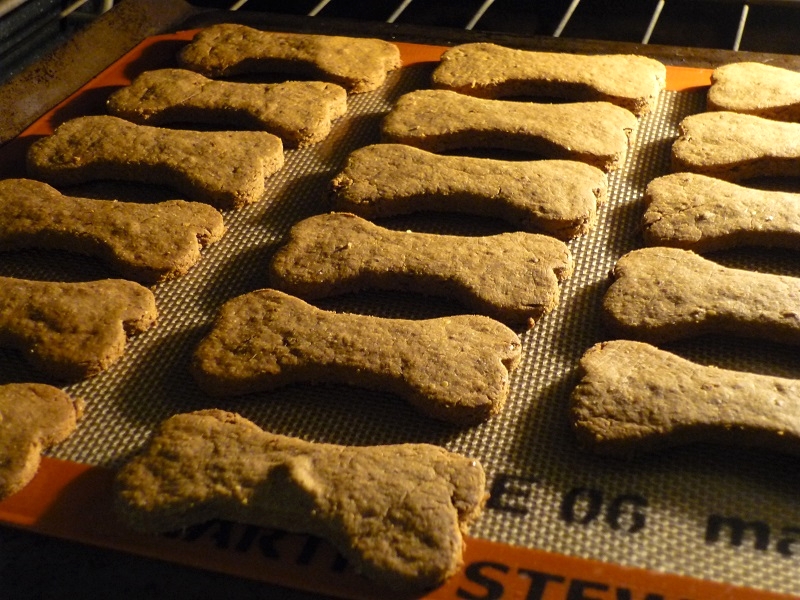

Pop the treats into your preheated oven! So... just a warning, your home will smell like... liver and bacon. I think the liver smell was a lot stronger. Before starting the recipe, I made sure to put all clothing and my purse into another room and shut the doors to all the rooms and bathroom so that it didn't absorb any of the smells. I also cranked down the AC, turned on fans, and lit candles.

I think I got about 4 - 5 dozen treats out of this. For something that was that much work, it'd better yield a lot. Otherwise, I would just cut them smaller. They are kind of rich so using a smaller cutter wouldn't be a bad idea, but I've yet to find smaller bone shaped cookie cutters.

Homemade Bacon Dog Treats (adapted from the Bouchon Bakery Cookbook)

  • 12 ounces sliced bacon, cut into smaller pieces
  • 1 pound chicken liver, cut into smaller pieces
  • 8 ounces applesauce
  • 3 1/2 cups oat flour
  • 1/2 cup ground flax seed

Preheat oven to 250 degrees.

Heat a large frying pan over medium-high heat and add the bacon. Cook until golden brown and drain on a paper towel. reserving about tablespoon of bacon grease, add the liver to the pan. Smash the liver to cook to a paste. Add the bacon and liver to a food processor and mix to a fine paste or if preferred, to a coarse texture. 

In the bowl of an electric mixer fitted with the paddle attachment, add in the flour and flax seed and mix to combine. Add in the chicken/liver mixture and mix at low speed until the texture is crumbly. With the mixer still on low speed, slowly add in the applesauce and mix until well combined. Remove the dough from the bowl and knead for a couple minutes until dough is smooth.

At this point, you can divide the dough to make it easier to work with; if you are using only portions of the dough at a time, keep the unused dough covered to prevent drying. Flatten the dough to a disk and lay it on top of parchment paper or a silpat mat. Place a large cut of plastic wrap over the dough and roll it out; remove the plastic wrap and cut the dough into desired shapes. Place on a baking sheet lined with parchment paper or a silpat mat. The dough does dry a little faster than usual, so make sure to work with it quickly. Bake the treats in the oven for 1 hour and 15 minutes. Turn off the oven and leave the treats in the oven overnight or for about 2 - 3 hours. This will dehydrate the treats to a crisp biscuit. Store in an airtight container.
> Read more ...

Saturday, July 19, 2014

Baked Pumpkin French Toast Recipe (Single-Serve)


So I don't usually bake a big giant dish of anything sweet if there is no sharing involved. This is because I will eat all of it. I tried it once - baking a french toast casserole and I ate the whole thing in two days. It was supposed to serve 8. Lesson learned.


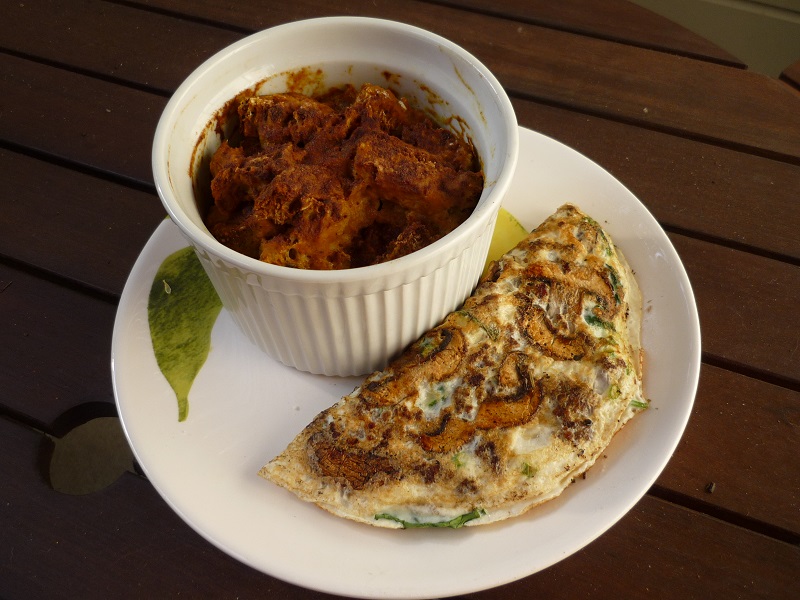
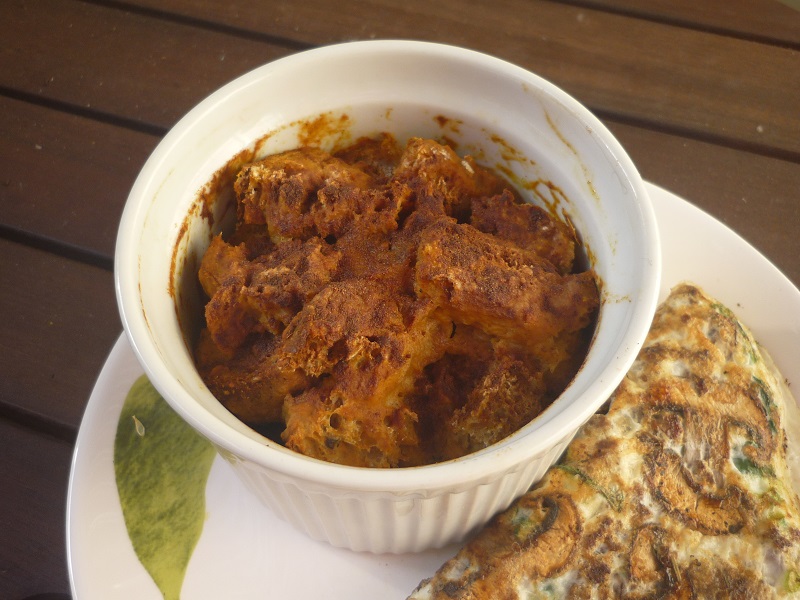
In the morning, I usually eat some sort of french toast bake along with an omelette. I've been making plain baked french toast with my base recipe and sometimes add in some fruit, but I recently started using pumpkin instead since I was having trouble getting enough fiber. Pumpkin is really a miracle food to me - it has so much fiber and creates such great texture in smoothies and custards while maintaining a low calorie count. I love using pumpkin in my smoothies to create a smoother and creamier texture.

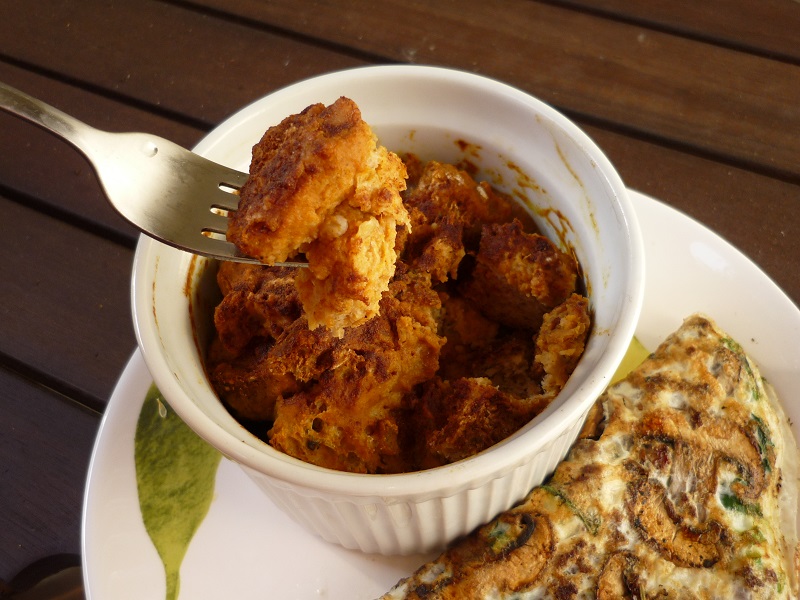
The pumpkin creates a custard texture for the french toast bake without adding too much milk (which can make it soggy) or egg (which can make it too egg-y). Adding pumpkin to my custard mixture has been my favorite variation of my base recipe so far. I add a lot of pumpkin for a single serve dish as a filler but also for its fiber content and to make the dish more bread pudding-like. Eating this in the morning reminds of winter and the Christmas spirit. It's Christmas in July!


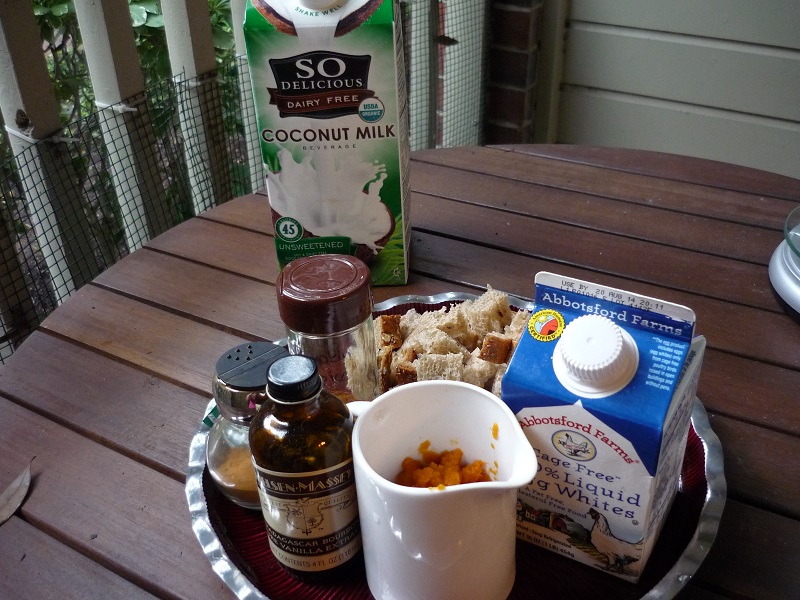
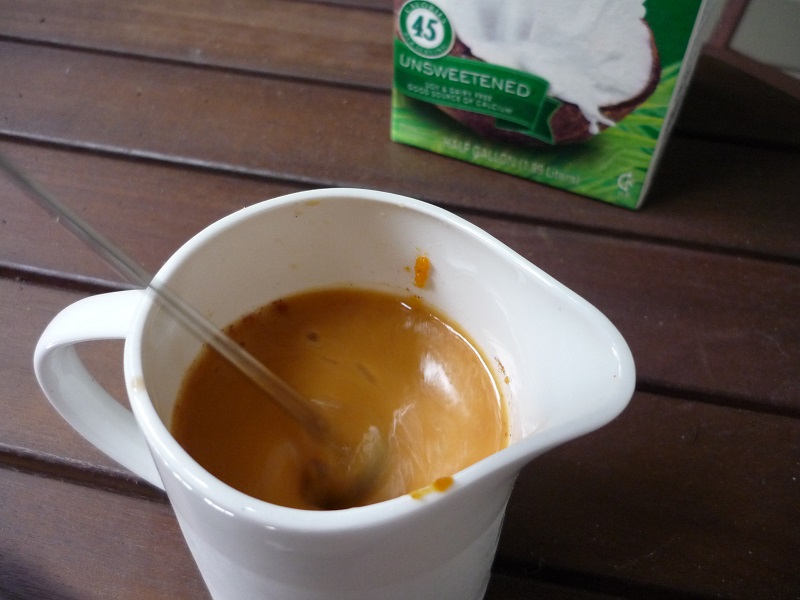
First, cube your bread and mix the egg whites/egg, milk, pumpkin, pumpkin spice, vanilla, and sweetener.

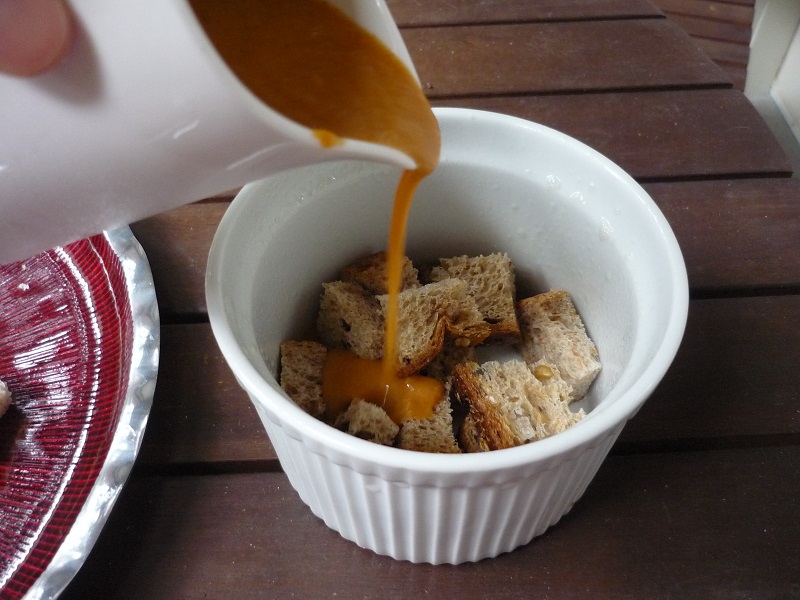
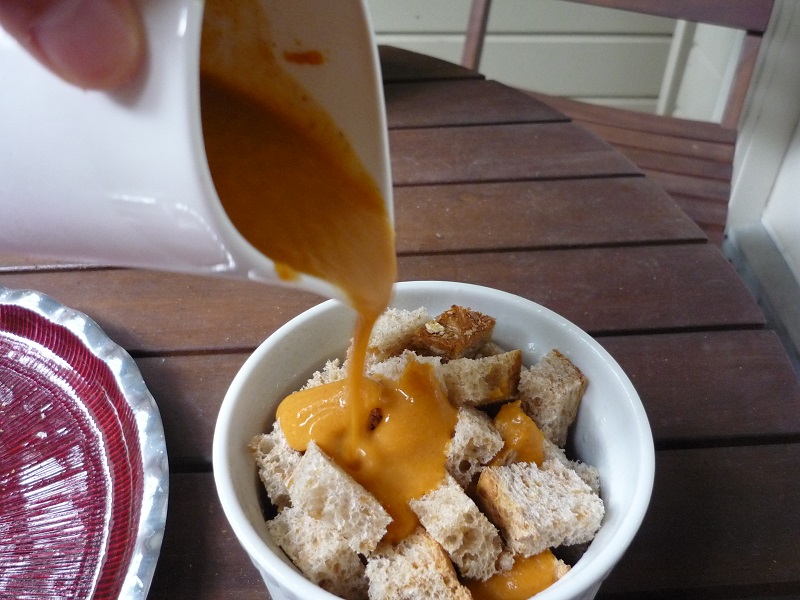
Spray your dish with nonstick spray and add 1/3 of the cubed bread. Pour 1/3 of the custard mixture evenly over the bread.


Repeat for the remaining 2/3.


Sprinkle the top with remaining sweetener and cinnamon. Cover and refrigerate 2 hours or overnight. Baked in a preheated 350 degree F oven the next morning and serve warm.

Now you can eat this as a dessert too with some ice cream or switch up the ingredients to more indulgent ones.


Single-Serve Baked Pumpkin French Toast Recipe

  • 2 slices of bread, cubed (I usually use sprouted grain breads since they are often drier)
  • 3 tbsp liquid egg whites, one whole egg, or two egg whites
  • 1/4 cup/2 oz milk of choice
  • 1/3 cup pumpkin puree (I like using Libby's brand)
  • 1/4 tsp pumpkin spice
  • 1/8 tsp vanilla extract
  • 1/8 tsp cinnamon
  • 2 packets stevia or 3 tsp sugar (brown sugar would work nicely here) or other sweetener

In a small bowl, mix together the egg whites/egg, milk, pumpkin, vanilla, pumpkin spice, and 1 packet stevia or 2 tsp of other sweetener. Spray an oven safe 2-cup capacity dish or soufflé dish with nonstick spray. Add in 1/3 of the cubed bread and pour 1/3 of the custard mixture over the bread. Repeat this pattern for the remaining bread and custard mixture. Sprinkle 1 packet of stevia or 1 tsp of sugar/sweetener and 1/8 tsp cinnamon over the top of the french toast mixture. Refrigerate overnight or at least 2 hours. Bake in a preheated 350 degree F oven for 30 minutes the next morning. Serve warm.
You can turn this into a bread pudding for dessert by using whole egg and half and half or cream in the custard mixture. Serving it with a nice dollop of creme anglaise, whiskey cream sauce, whipped cream, or ice cream wouldn't be a bad idea either.

> Read more ...
Monday, July 14, 2014

Peanut Soba Noodle Salad Recipe


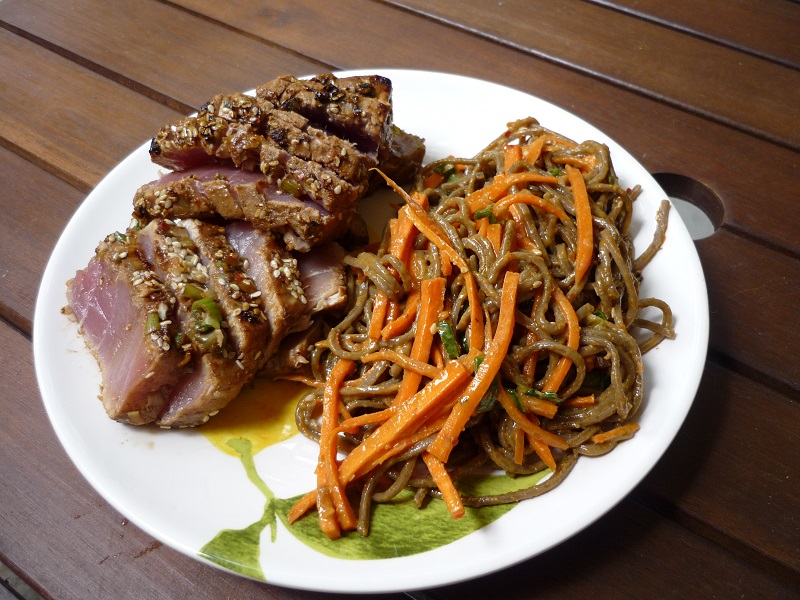
Still on 4th of July weekend, a little late I know. My mom came over to dye her hair so I cooked her lunch - seared ahi tuna and peanut soba noodles. We had an amazing peanut soba noodle salad in Vegas at Gordon Ramsey's BurgR this past May and I wanted to replicate it for her. I found a recipe by Guy Fieri who seems to always have Asian-inspired recipes. Guy is one of my favorite Food Network stars - I was rooting for him when he was on the first season of The Next Food Network Star. He's so down to earth and entertaining, especially on Diners, Drive-ins, and Dives. I watch that show too much and then I get hungry :(.

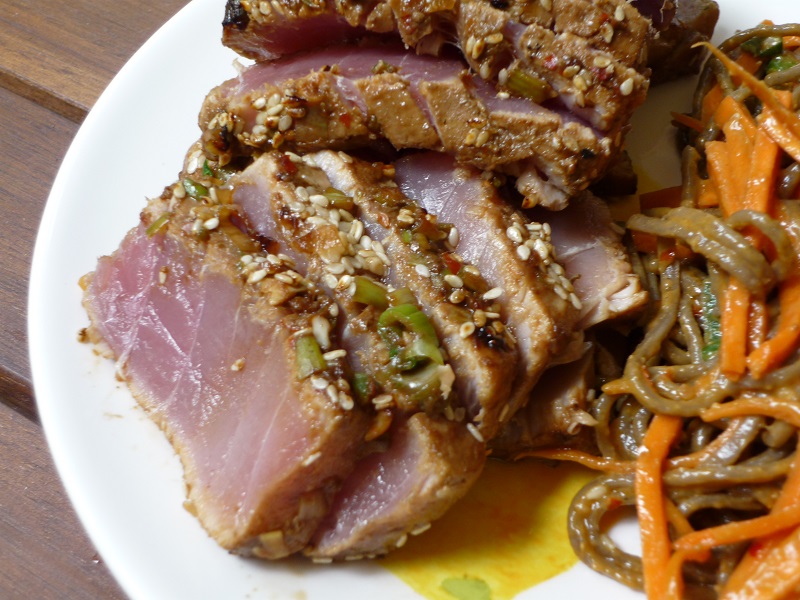
Guy's recipe called for ingredients that looked like it would taste like the soba noodle salad from BurgR and I changed it up just a little to reduce the grease factor. I made a lot of tuna for my mom - it was probably a good 10 - 12 oz, only because it was going to be leftovers and I wasn't going to eat it; she took some of it to go. This time I sprinkled the tuna with sesame seeds before searing - we love sesame, especially black sesame in desserts.


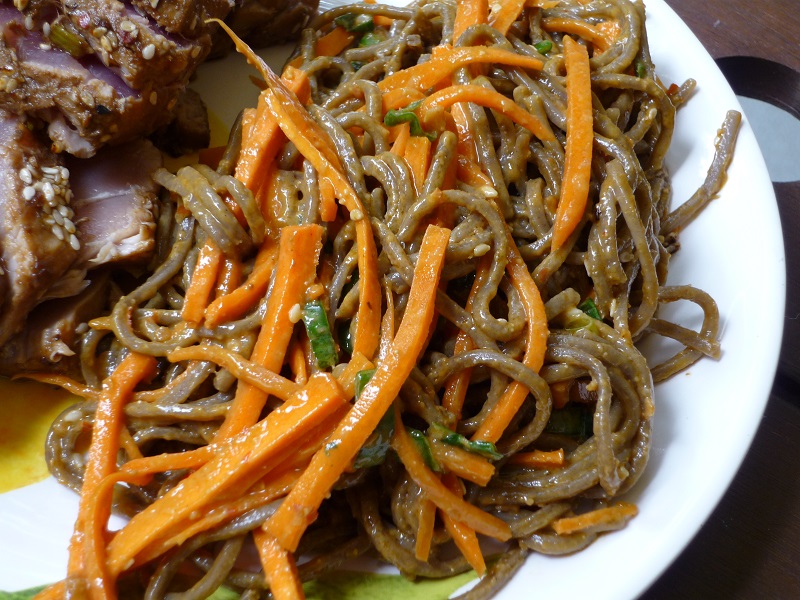
The noodle salad was perfect! I used regular dark soba noodles instead since that's what I had on hand. The texture was spot-on with what I was looking for - a little mushy (in a good way), nice crunch factor from the carrots, very peanut-y, and slightly sweet. Aroma was perfect too with the sesame oil and soy sauce. I think I'll add in some julienned cucumbers next time. The recipe called for chopped roasted peanuts which I didn't have, but it would've been amazing with it! This was reminiscent of the rice noodle and peanut hoisin sauce used in the Vietnamese dish bun nem nuong (rice noodles with pork meatballs).

I'm thinking of maybe serving this dish with chicken satay skewers just like what I had at BurgR for the holidays. We don't really want a turkey this year, so maybe we can do this instead, although I don't think that would go well with my potatoes au gratin dish I love to make for Thanksgiving. Maybe for the winter holidays! Anyway, here's the modified recipe. Enjoy!


Peanut Soba Noodle Salad Recipe (adapted from Guy Fieri on Food Network)
Servings: 2

  • 4 oz soba noodles
  • 1 tbsp toasted sesame oil, plus 1 - 2 tsp
  • 1 clove minced garlic
  • 1 tsp grated ginger
  • 2 tbsp peanut butter (crunchy would work nicely here)
  • 1 tbsp + 1 tsp low sodium soy sauce
  • 2 tsp honey
  • 2 tsp rice vinegar
  • 1.5 tsp chili garlic sauce or sriracha
  • 1/3 cup julienned carrots
  • 1/4 cup sliced scallions
  • 2 tsp toasted sesame seeds

Cook the soba noodles according to package instructions. Reserve 1 tbsp of the cooking liquid to toss into the dressing later and drain the noodles. Drizzle 1 - 2 tsp sesame oil into the soba noodles and toss to prevent sticking. Whisk together the remaining 1 tbsp sesame oil, garlic, ginger, peanut butter, soy sauce, honey, rice vinegar, chili garlic sauce/sriracha, and reserved cooking liquid.

Add the carrots and scallions to the noodles and toss. Drizzle the peanut dressing over the noodle mixture and add 1 tsp of sesame seeds and toss until well combined. Sprinkle remaining 1 tsp sesame seeds on top and serve cold or warm. 

I like to eat the noodle salad cold, but you can serve it warm as well.

> Read more ...

Saturday, July 12, 2014

Marinated Seared Tuna Recipe


For the 4th of July holiday and weekend, I decided to treat myself and splurge on big eye tuna from Central Market. I love ahi tuna, but try to limit myself since 1) it's expensive and 2) it's considered a high-mercury fish. I haven't had it in awhile and it was on sale + 4th of July so the timing was perfect. So I researched a couple of recipes and decided on Food Network's Anne Burrell's recipe.

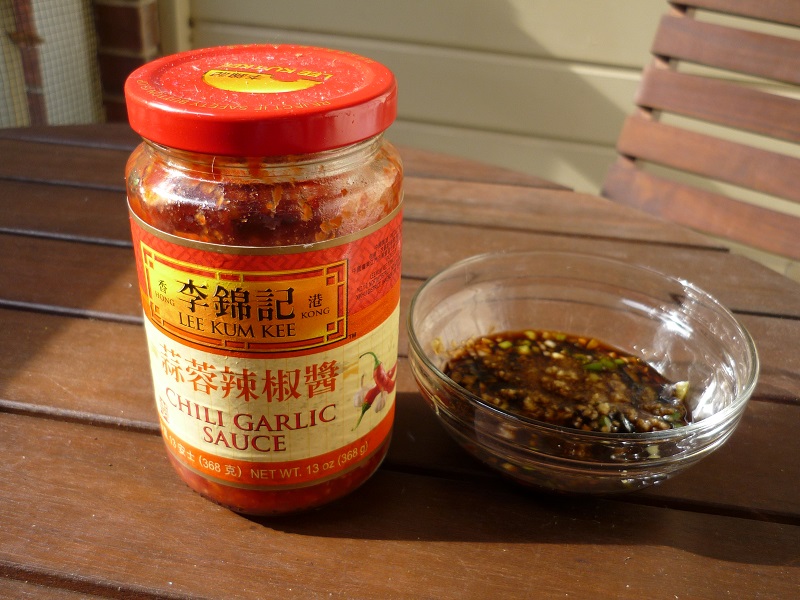
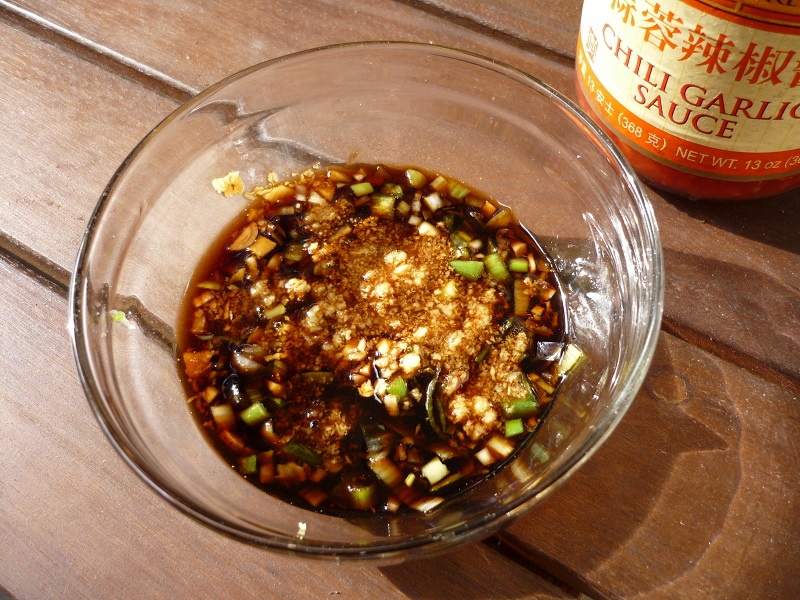
Before heading off to the gym, I prepared to marinate my tuna for the two hours called for in the recipe. However, I didn't have any sambal oelek, but had something fairly similar and used Lee Kum Kee Chili Garlic Sauce instead.


You can already tell the mixture of ingredients was going to yield a pretty tasty seared tuna. Look at all seasonings:


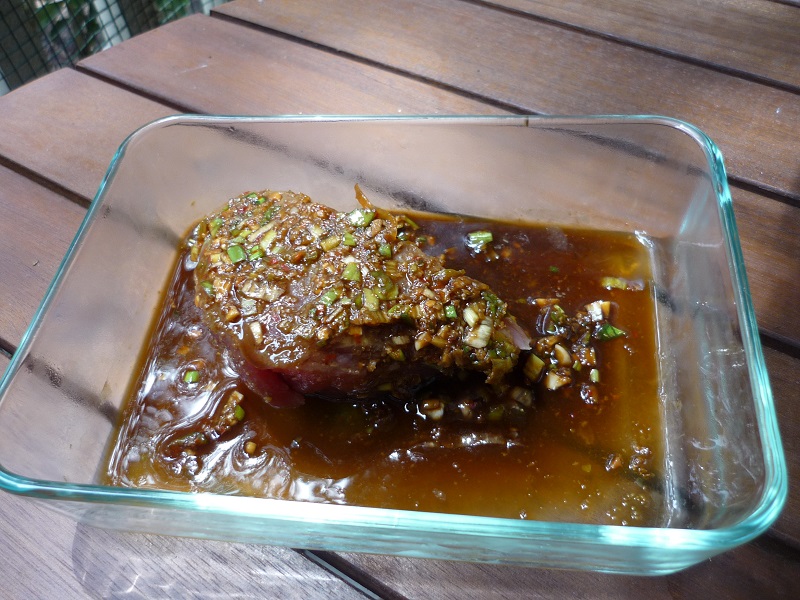
Then I poured it over my tuna and let it marinate for about two hours while I went to Studio Fitness Heights to do my crazy full body workout that Sohee Lee prescribed for me. I'll just say my tuna was very well deserved after my workout.


When I got home, I took it out of the refrigerator and let it come to room temperature for about 30 minutes as called for in the recipe. I hadn't done this before for tuna, but it I will start now - it cooks better and doesn't leave a seared cold tuna to be plated. Instead of oiling the pan, I just sprayed it with some nonstick spray which worked for me and my post workout meal.


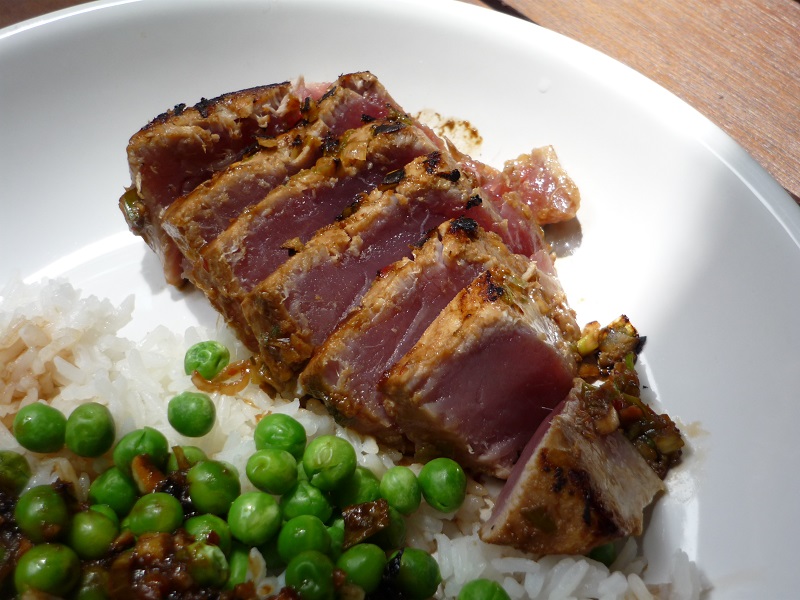
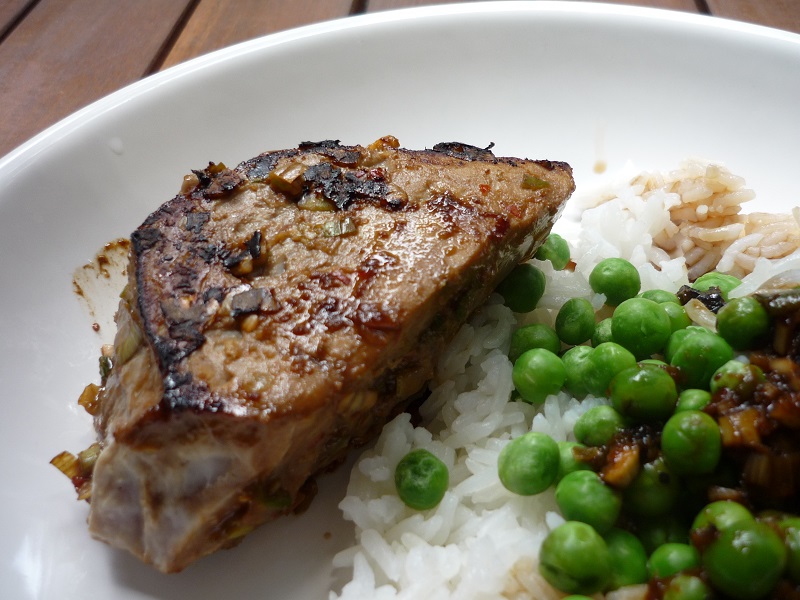
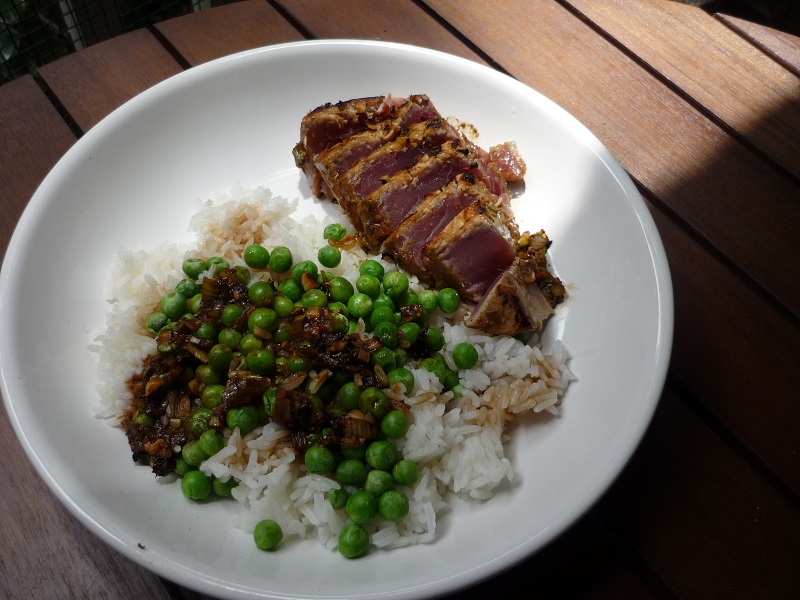
Pan-seared one minute on each side on a thick slab of tuna yielded a nice browned layer and a pretty raw center which I prefer.


I made sure to keep all herbs and seasonings stuck on the tuna so it would sear nicely as well and used the rest to season my side of jasmine rice and frozen peas. Mmmmmmm it was so good! Definitely a nice meal after a tough full body workout. The ginger brightened up the tuna and the soy sauce was not too salty. I didn't use too much rice vinegar since my body doesn't tolerate it well. I used more garlic and ginger than called for in the recipe since I really like those flavors. Searing it yielded a slightly smoky flavor to the garlic and ginger. I poured the leftover sauce in the hot pan and let it simmer for about 20 seconds before pouring it over my rice. You can use it as a dipping sauce for your tuna or just pour it over the tuna instead. Anne Burrell's recipe is a winner and you should try it the next time you're serving up some tuna. Make sure to catch her show, Secrets of a Restaurant Chef, on the Food Network channel for some more yummy recipes!


Marinated Seared Ahi Tuna for 1 (adapted from Anne Burrell on Food Network)

  • 2 tbsp low sodium soy sauce
  • 1 tbsp rice wine vinegar
  • 1/2 tsp Lee Kum Kee Chili Garlic Sauce
  • 1 scallion finely chopped (white and light green parts only)
  • 1 clove of garlic, minced
  • 1/2 inch ginger, grated
  • 5 - 6 oz ahi tuna

Mix the first six ingredients together. Pour over tuna and make sure all sides are soaked. Refrigerate for about two hours, turning the tuna over occasionally, although it is not absolutely necessary. Before cooking, remove from refrigerator for 20 - 30 minutes and turn the tuna over at least once to marinate evenly. Heat a frying pan on high heat coated with nonstick spray and sear each side for about one minute. Jasmine rice works best if using rice as a side. Enjoy!

> Read more ...

Wednesday, July 2, 2014

BCAA Gummies Recipe


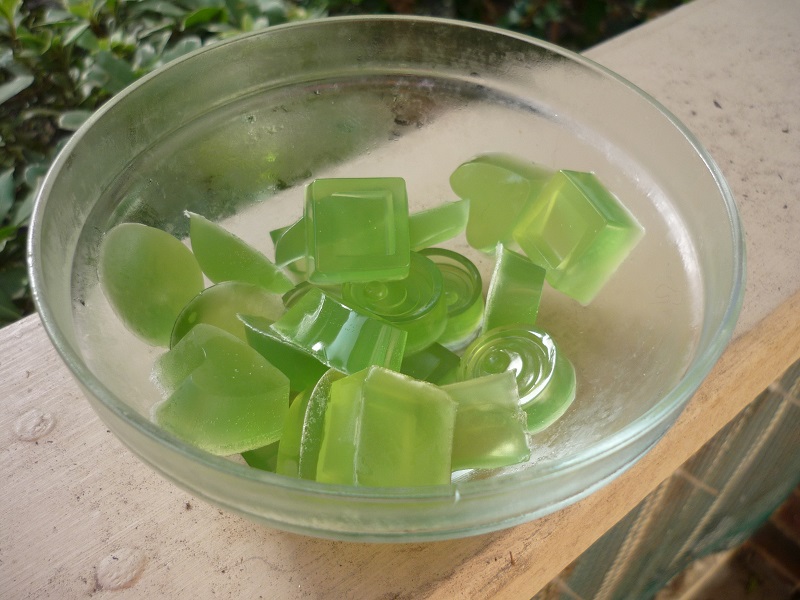
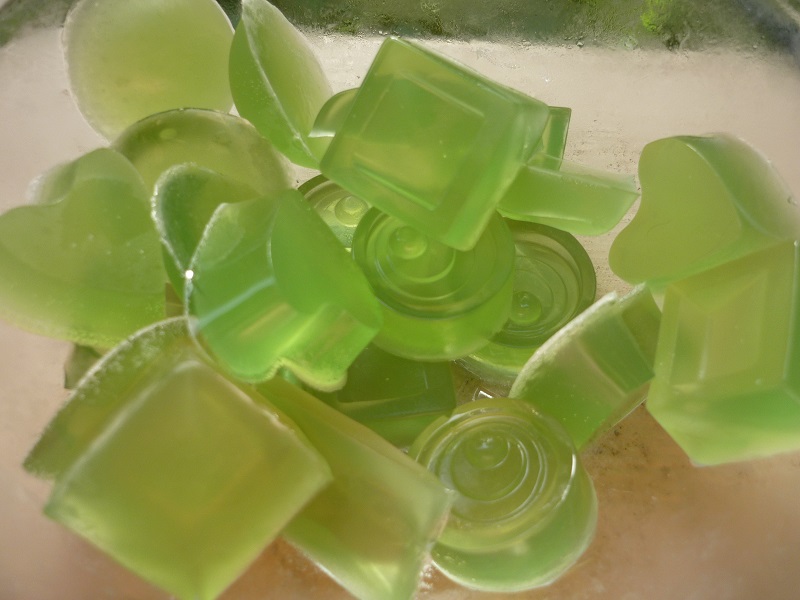
So I follow Soohee Fit on Facebook since I'm a client of hers and she had a recent post about a genius idea: BCAA gummy bears. I've read that BCAAs are great to help with recovery and maintaining muscle mass, especially on rest days and thought, what a great idea to eat beneficial candy! The original recipe comes from Scivation using their Xtend BCAA mix. Well lucky me, I had exactly one scoop of my green apple flavor left to make a batch for my Saturday rest day. I did try a previous recipe using just lime juice and stevia and the ratio was a little off, with 1/3 cup liquid to 3 tablespoons of gelatin. It was a little too firm for my preference and I over-juiced the limes which made it bitter, so I threw it out and set out to make my BCAA gummies as I had orginally planned. These gummies use gelatin so it adds a bit of protein as well, although I'm pretty sure it's not a complete protein. However, gelatin is supposed to be good for your joints so gelatin + BCAAs = magical healing gummies.

This recipe from Scivation has a nice texture, not too firm, but not too soft. It's not chewy like gummy bears, but I suspect that has something to do with the lack of corn syrup or other sticky sugar substance. It's so simple and easy to make. I used some silicone chocolate molds I bought from Amazon and it popped right out. I've read that if you are using plastic molds to dust a little cornstarch in each mold so that your gummies pop out easier. You can also just pour it in a tray and then cut it up or use an ice cube tray, etc.


BCAA Gummies (from the Scivation website)

  • 1 scoop of Scivation Xtend BCAA powder (I used green apple, but I just bought their raspberry blue and I bet it would be awesome here!)
  • 1/2 cup (4 oz) of water
  • 3 tablespoons/3 envelopes/21 g gelatin

In a small saucepan, mix the water with the BCAA powder, then sprinkle the gelatin and let it sit for about five minutes. It will become thick and gelatinous. Heat the mixture uncovered over low heat for about five minutes, then pour into your mold and freeze for 20 minutes. Remove from molds and enjoy!

> Read more ...

Monday, June 23, 2014

100 Calorie Chocolate Pudding Recipe


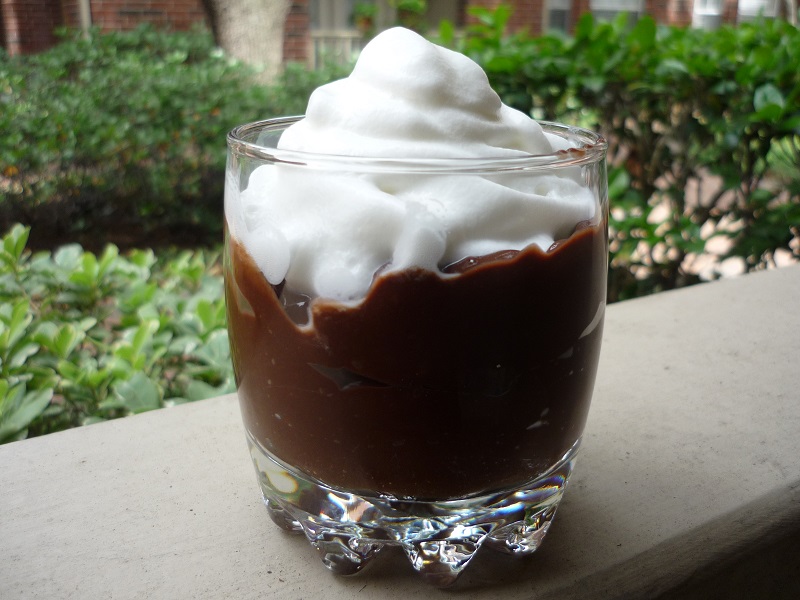
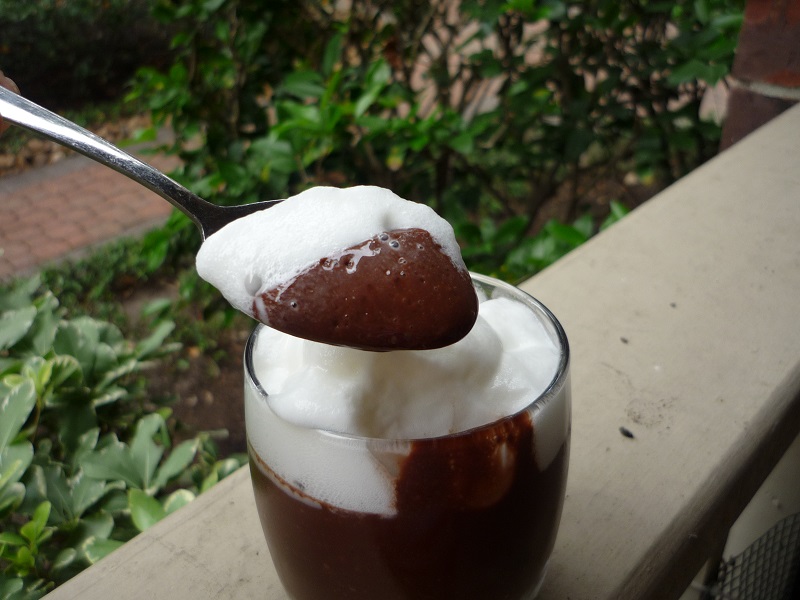
So sometimes I overindulge a little bit and have to get creative with my macros to get back on track. In comes the gelatin-based chocolate pudding. I wanted a little indulgence that wasn't all carbs and fat and made some chocolate pudding with unsweetened coconut milk, cocoa powder, gelatin, stevia, and vanilla extract. This recipe is very versatile and can be adjusted to a very indulgent pudding or a "light" pudding for when you already had your indulgent pudding. The gelatin (which is a good source of protein by the way) creates a smooth texture without having to resort to cornstarch and fat. I don't always substitute stevia for all of my sweeteners, but sometimes I need a balance and use it to tame my cravings while not indulging ridiculously. Otherwise, I would have gone the traditional pudding route or hell, even made some chocolate mousse with cream, eggs, sugar, and bittersweet chocolate!


100 Calorie Chocolate Pudding Recipe

  • 1.75 tsp (5 g) gelatin powder
  • 2 tbsp (1 oz) cooled coffee
  • 1 cup (8 oz) unsweetened coconut milk (not canned)
  • 2 tbsp (11 g) unsweetened cocoa powder
  • 1/2 tsp (2 g) vanilla extract
  • Stevia to taste (I used 2 packets of SweetLeaf)

In a medium bowl, pour in the cooled coffee and sprinkle in the gelatin powder. Let stand for five minutes. Heat the milk in either the microwave (make sure not to boil over) or on a stove top until it begins steaming (not boiling). Whisk in the cocoa powder and stevia until well mixed. Pour the milk mixture over the gelatin mixture, add the vanilla extract, and whisk until well-mixed. Refrigerate for at least two hours. Before serving, use a hand mixer to blend everything together and break up the gelatinous clumps. This will yield a smooth pudding. Serve with toppings of your choice.

You can use this as a base recipe and use any kind of milk and sweetener. Spice it up with some cinnamon next time!

Nutrition: 93 calories, 8.1 g carbs, 6 g fat, 6.4 g protein, 4.6 g fiber

> Read more ...

Wednesday, May 21, 2014

Shepherd's Pie


Trying shepherd's pie in Vegas piqued my interest to cook it at home! I found a recipe by Ellie Krieger on Food Network (my favorite channel by the way) and adapted it to suit my preferences. Ellie Krieger healthifies a lot of recipes and she's always so creative in incorporating healthier ingredients. This particular recipe uses a mix of cauliflower and potatoes for the topping instead of straight potatoes, which came out delicious and I plan on making this version of mashed potatoes for the holidays this years. Let's see if I can trick my nephews. Since I was making this for lunch at work, the mix was also beneficial in that I would not get sleepy after eating too much potatoes. Potatoes are just a little too comforting during the work week and I need to stay awake!

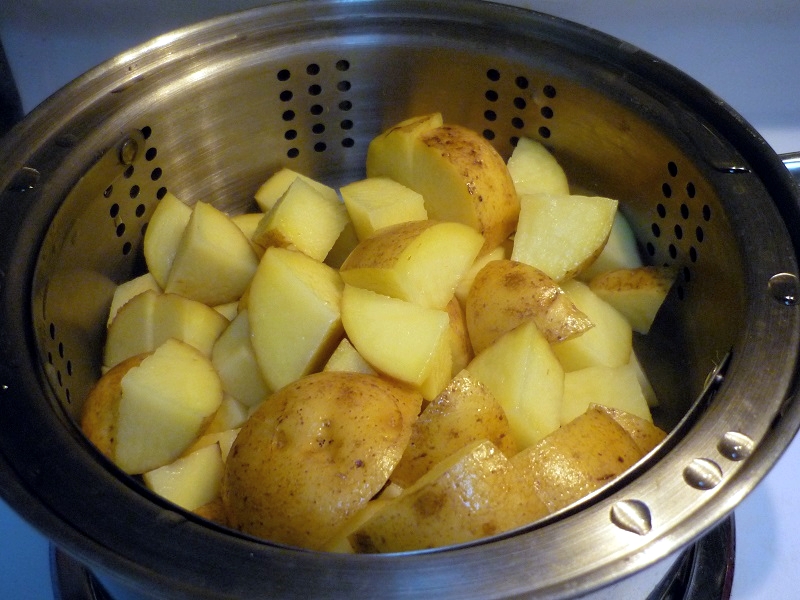
First, scrub your potatoes clean and cut into 2" pieces, then add to a steam basket to soften.


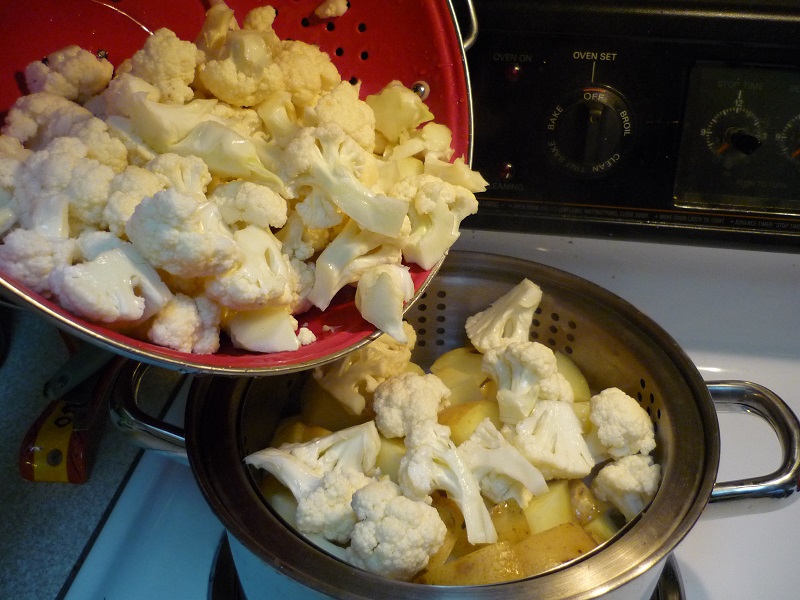
Add your cauliflower after potatoes begin to soften. My steamer is small so I had to do an additional separate batch of just cauliflower.


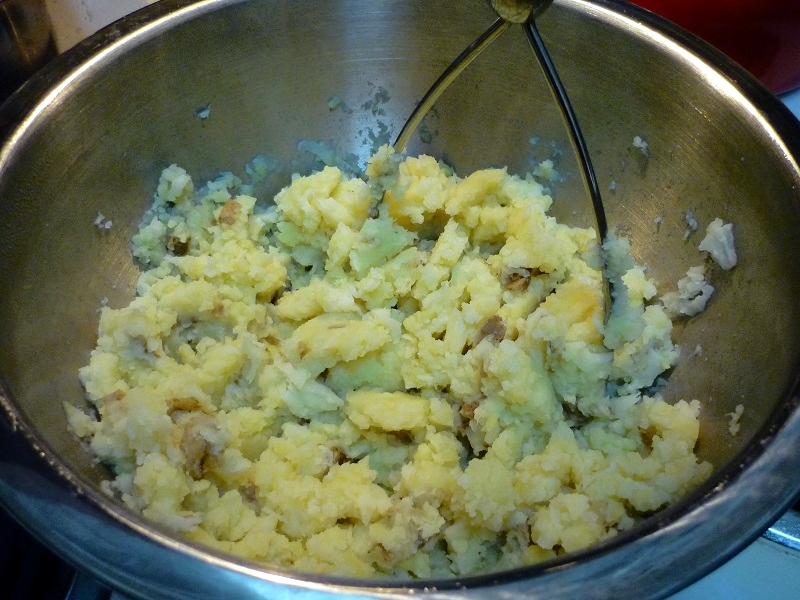
Once they're tender, if you're angry, mash it up with a potato masher, and if you're feeling lazy, a hand mixer. If you like it really fine, you can put it in a blender.


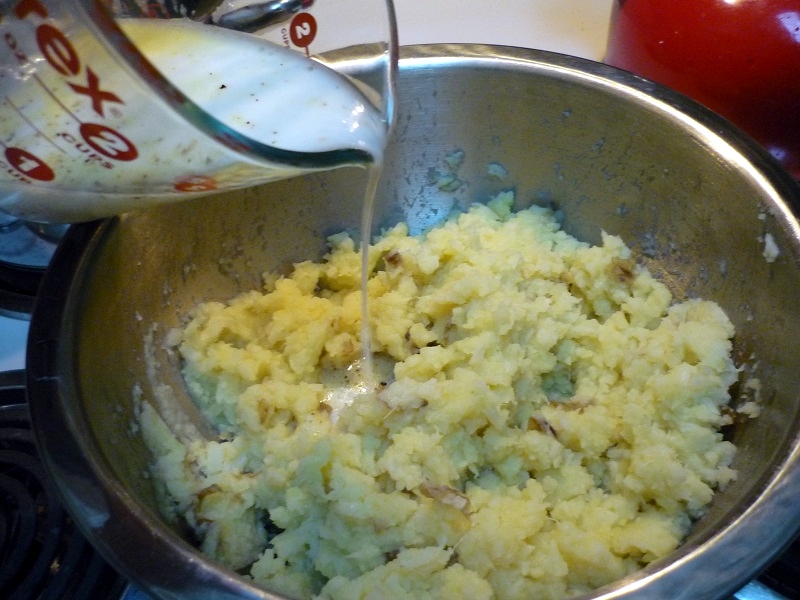
Add the milk, butter, some salt n peppa.


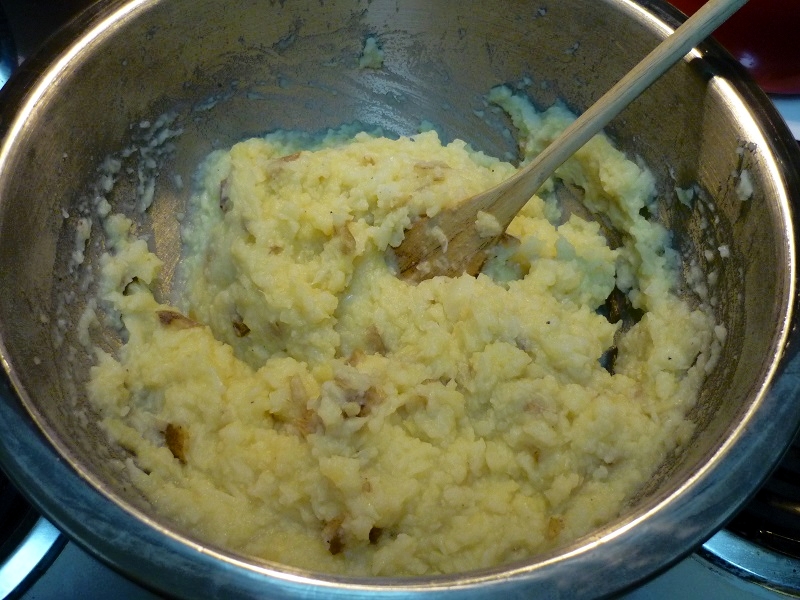
Stir to a creamy consistency. You can't even tell by looking at it there's cauliflower! The mix of potato and cauliflower really is delicious and a little butter goes a long way. I am crossing my fingers I can trick my nephews this year with this. Muhahahaha.


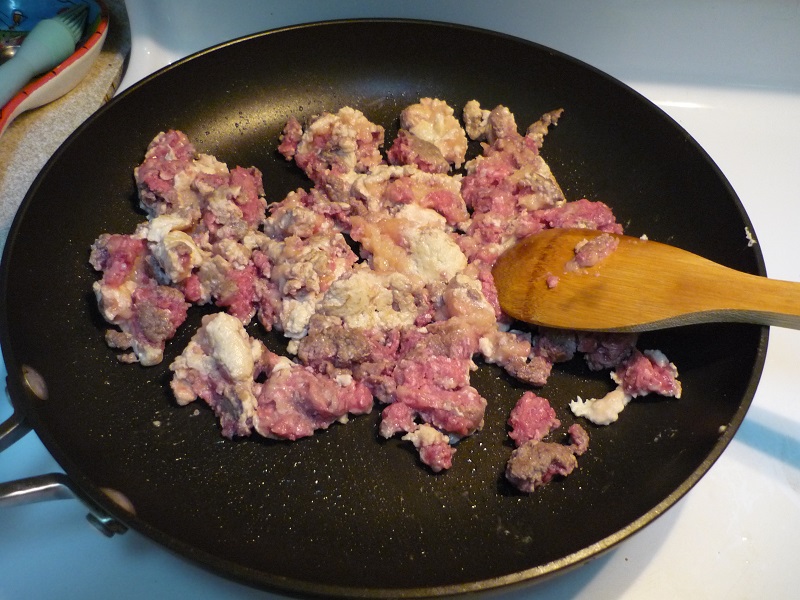
Heat a large pan and add the ground beef and chicken breast.


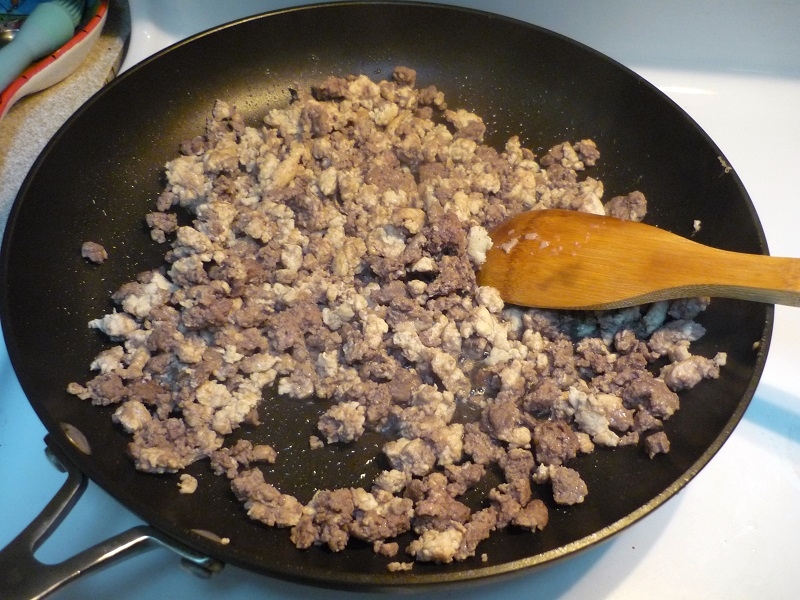
Season with a little salt n peppa and cook through. Pour into a separate dish or bowl. I did not drain the fat here since I used ground chicken breast and it could use a little more flavor.


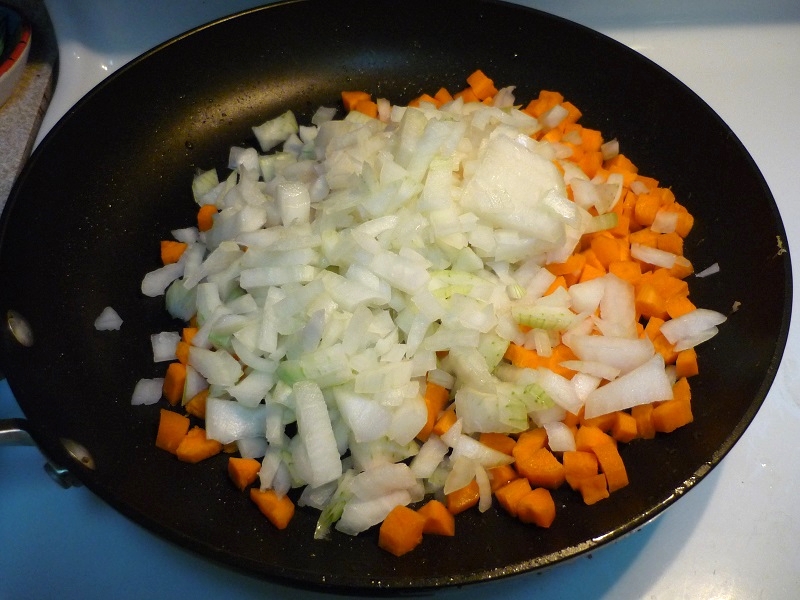
Heat the oil in the pan and add the onions and carrots; cover and cook until the mixture begins to soften.


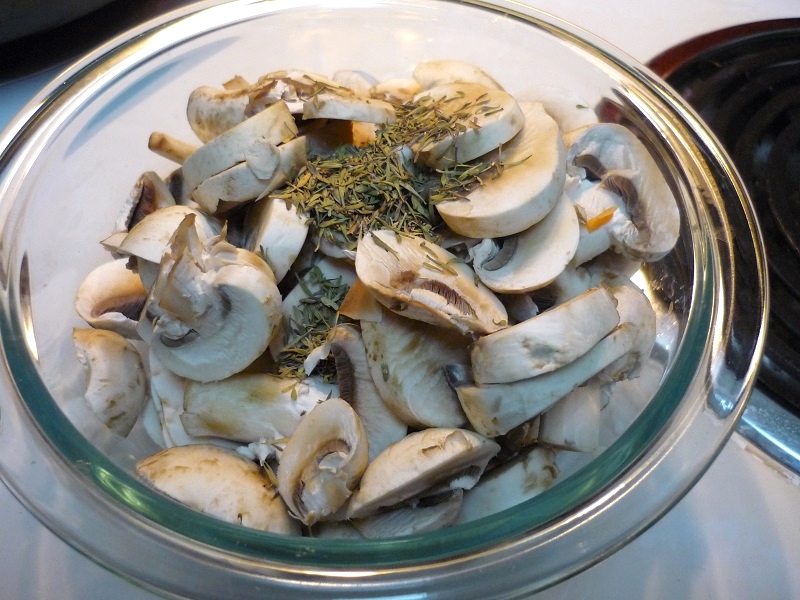
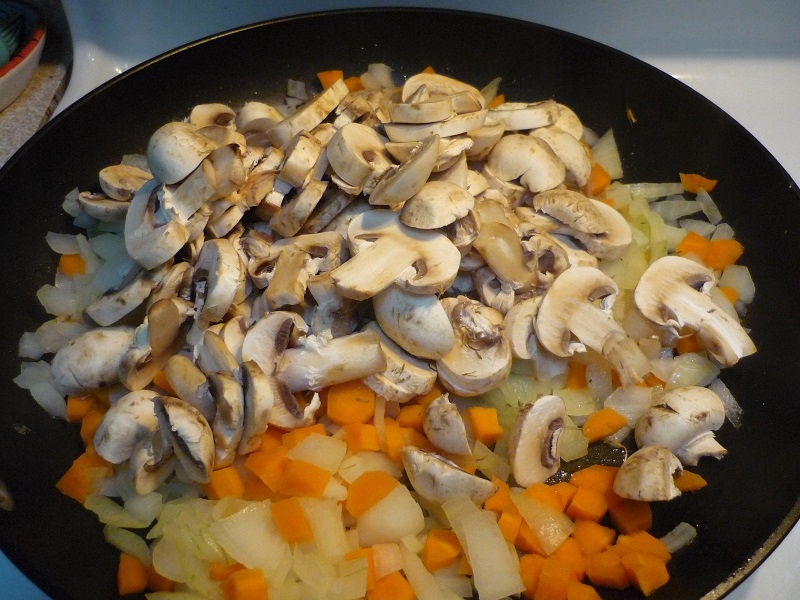
Once the carrots and onion begin to soften, add the mushrooms, some salt, and dried thyme.


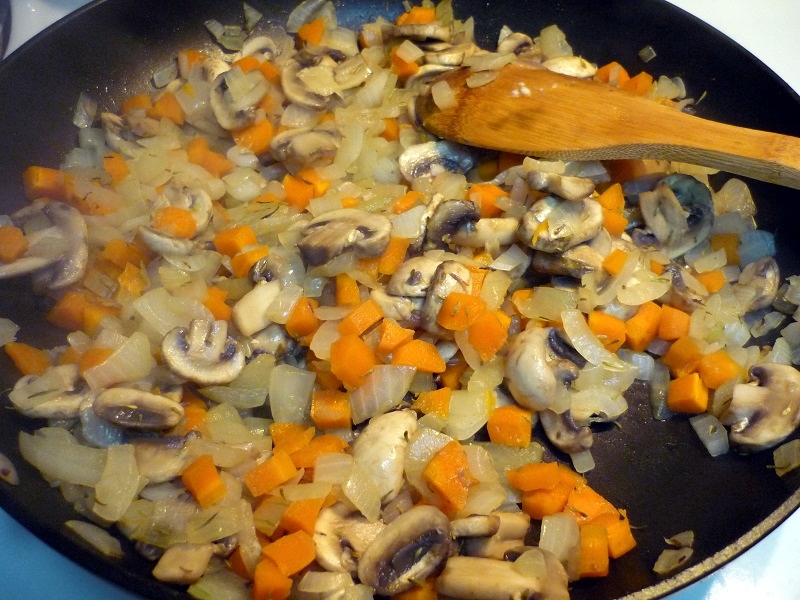
Occasionally stir and cook until most of the liquid from the mushrooms has evaporated. Did I mention how much I hate cleaning mushrooms? You really have to rinse down each and every single one. That little crunch when you don't? Yeah that's dirt. Or if you're really unfortunate, other brown stuff on the ground. Ewwww.


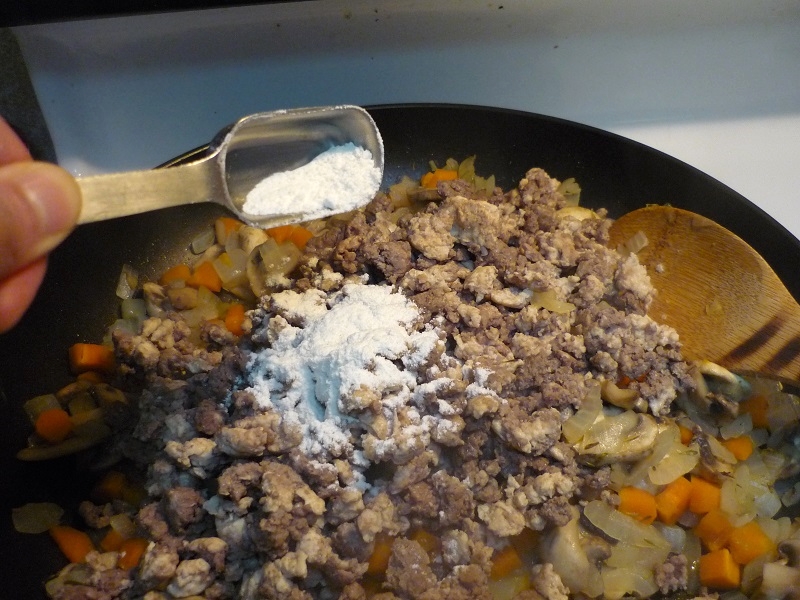
Add the meat back to the pan and sprinkle the flour over all of it and stir until well combined.


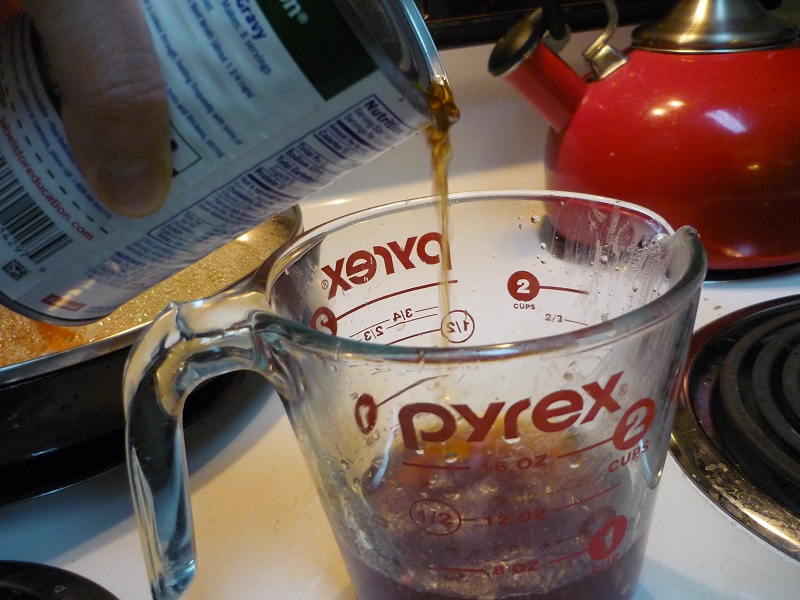
Measure out one cup of low/reduced sodium beef broth.


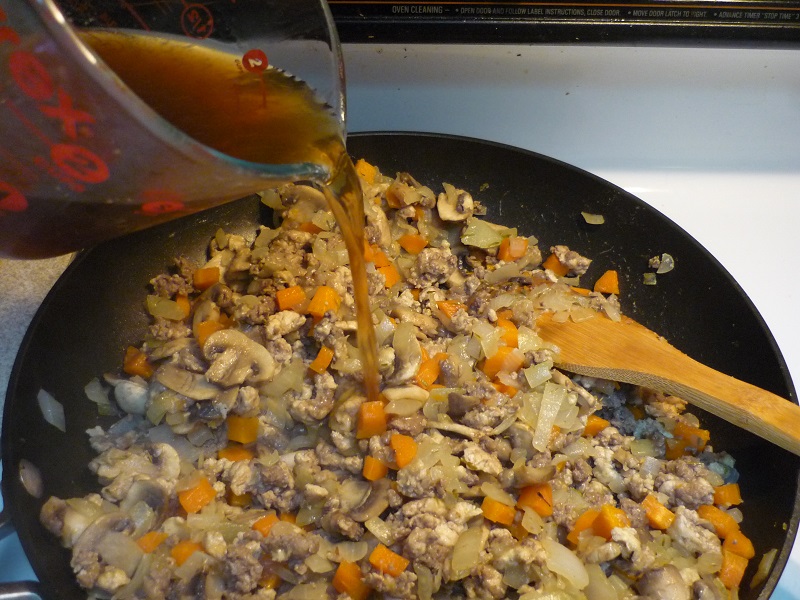
Pour the broth into the pan, stir, and cook until thickened.


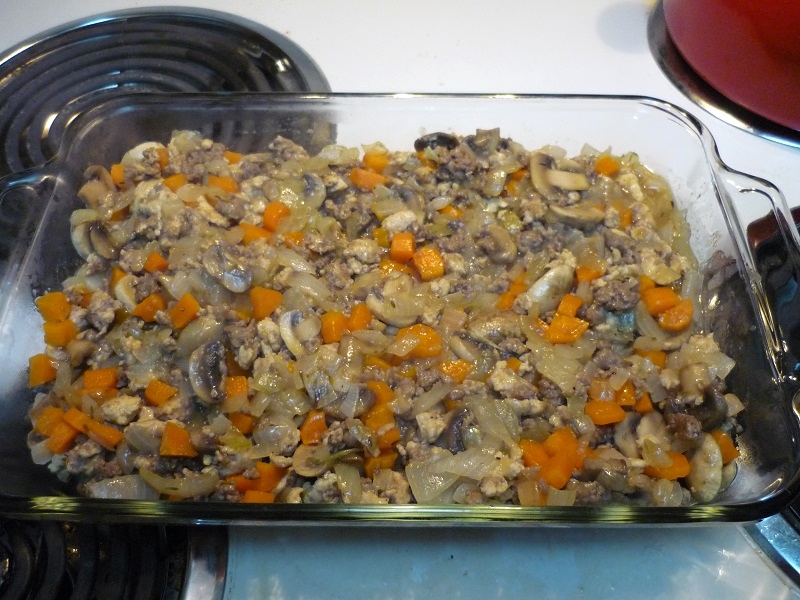
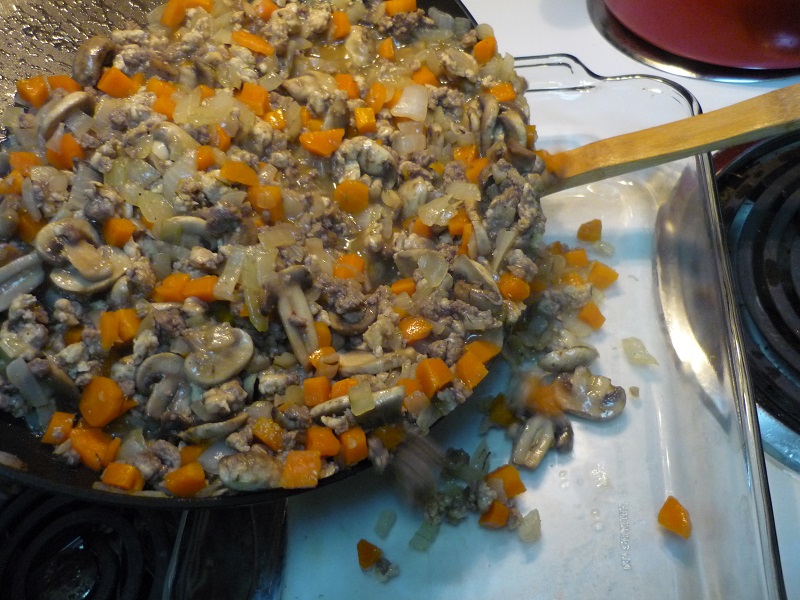
Pour the mixture into a 9" x 11" baking dish. Or you can do individual ramekins - I should've done this.


Spread it out evenly in the dish.


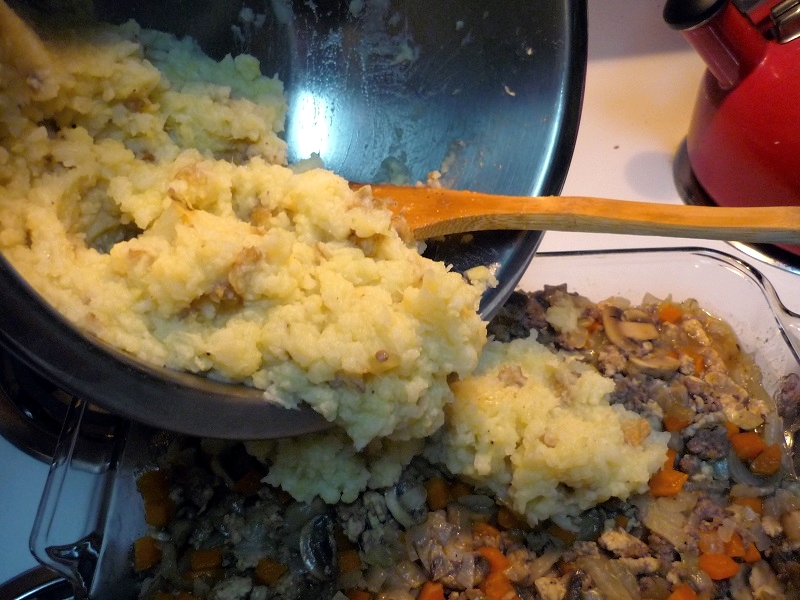
Dump the potato-cauliflower mixture (or the fake mashed potatoes) on top.


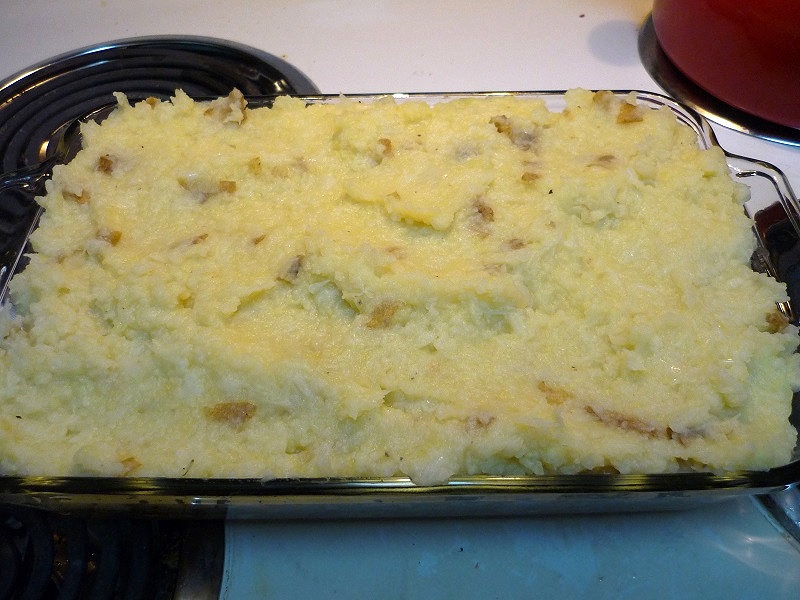
Spread it evenly over the meat mixture.


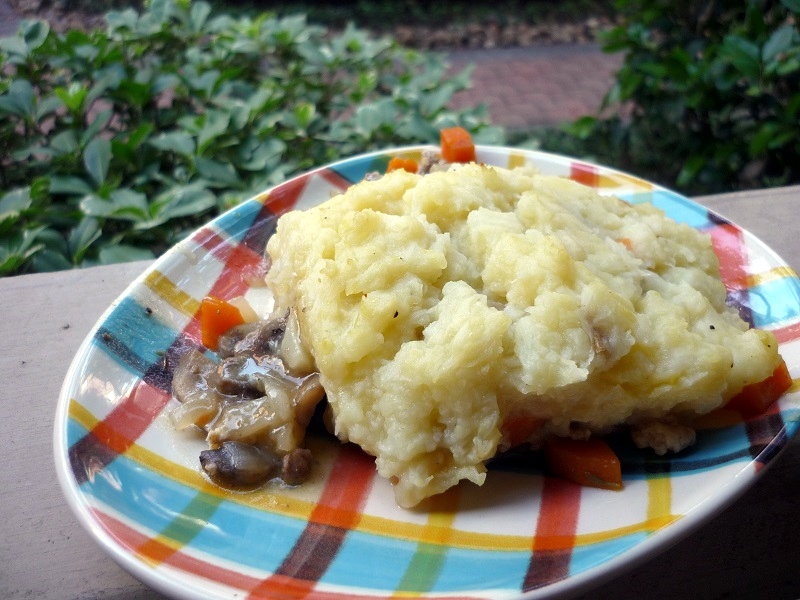
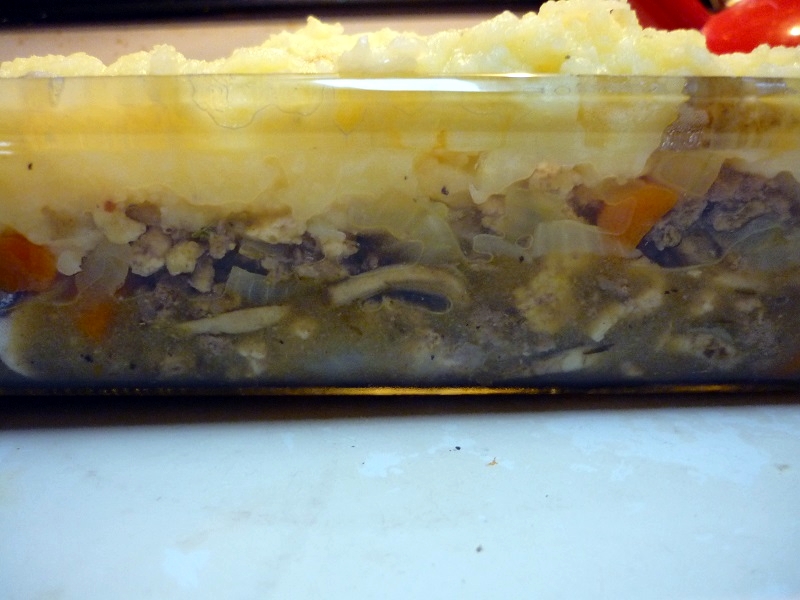
Look at the awesome layer of meat mixture and potato mixture, looks delicious and comforting doesn't it? Don't eat it yet - bake it in the oven for about 25 minutes.


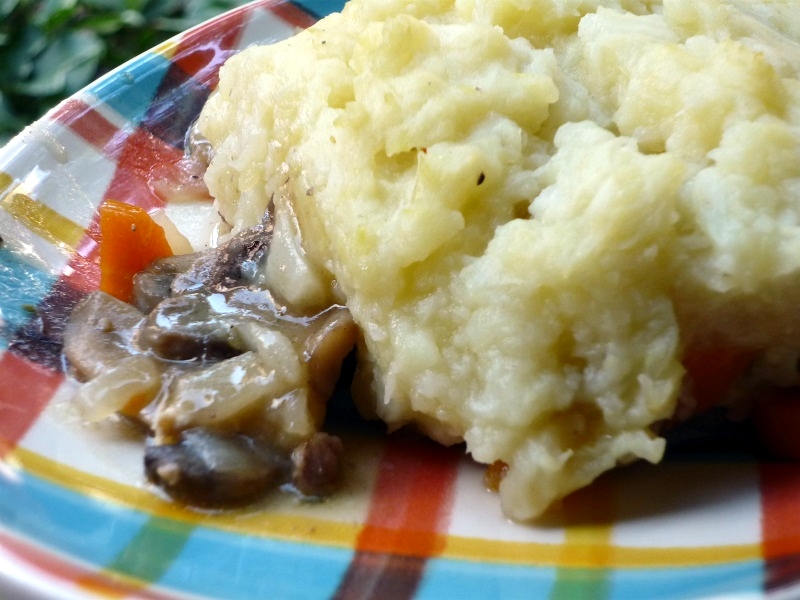
Then dig in!


This recipe makes 6 large servings. I was excited to eat this for lunch at work this week. I plan on making it again with ground turkey for variation. I think using all beef might be a little too rich for me. I also left out peas since I forgot to pick some up, although I'm sure it would taste even better with it.

Recipe (adapted from Ellie Krieger on Food Network)

  • 8 oz (227 g) 90% lean grass-fed beef
  • 8 oz (227 g) ground chicken breast
  • 1 tsp (5 g) olive oil
  • 3 cups (480 g) chopped yellow onion
  • 1.5 cups (200 g) chopped carrots
  • 8 oz (227 g) sliced white button mushrooms
  • 1 tsp (5g) dried thyme
  • 2 tbsp (20 g) all-purpose flour
  • 1 cup (8 oz/236 ml) low-sodium beef broth
  • 1 tsp salt  (5 g) + more based on your preferences
  • Freshly ground black pepper
  • 20 oz (567 g) gold potatoes, cut into 2" pieces
  • 24 oz (680 g) cauliflower, cut into florets
  • 2/3 cup (5.2 oz/156 ml) fat-free milk, warmed
  • 1 tbsp (12 g) unsalted butter

Add the potatoes to a steamer basket and cook for 10 minutes, then add the cauliflower and cook an additional 15 minutes or until tender. Mash the mixture with a potato masher or hand mixer and add the warm milk, butter, 1/2 tsp salt, and dash of pepper. Stir until combined. Set aside.

Preheat the oven to 350 degrees F.

In a large non-stick skillet, add the ground beef and chicken and lightly season, cook over medium-hight heat. Once cooked through, transfer the meat to a bowl or plate and set aside.

In the same skillet on medium heat, heat the oil and add the onions and carrots.  Cover and cook for about 8 minutes until the vegetables begin to soften. Add the mushrooms and thyme and stirring occasionally, cook until most of the liquid from the mushrooms has evaporated. Add the meat back to the pan with the vegetables and sprinkle the flour on top, stirring to distribute the flour throughout evenly. Stir in the broth, remaining salt, and a pinch of pepper and simmer until thickened.  Pour the mixture in a 9" x 11" pan and top with the potato-cauliflower mixture. Bake for about 25 minutes and serve.

> Read more ...